Tag: emergency (Page 2 of 2)

Flooding on Cape Cod

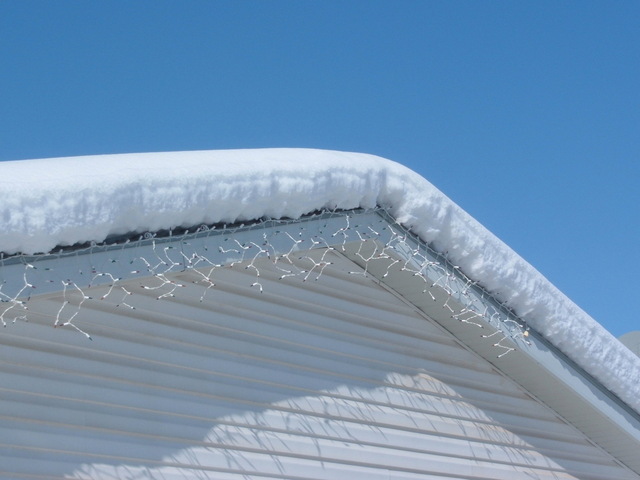
We’ve seen many storms and some pretty nasty winters the last few years here on Cape Cod, but last week was certainly something different for the area. While locals braced themselves for a storm after sustaining a long cold snap they didn’t quite expect to be facing such a major flood situation.

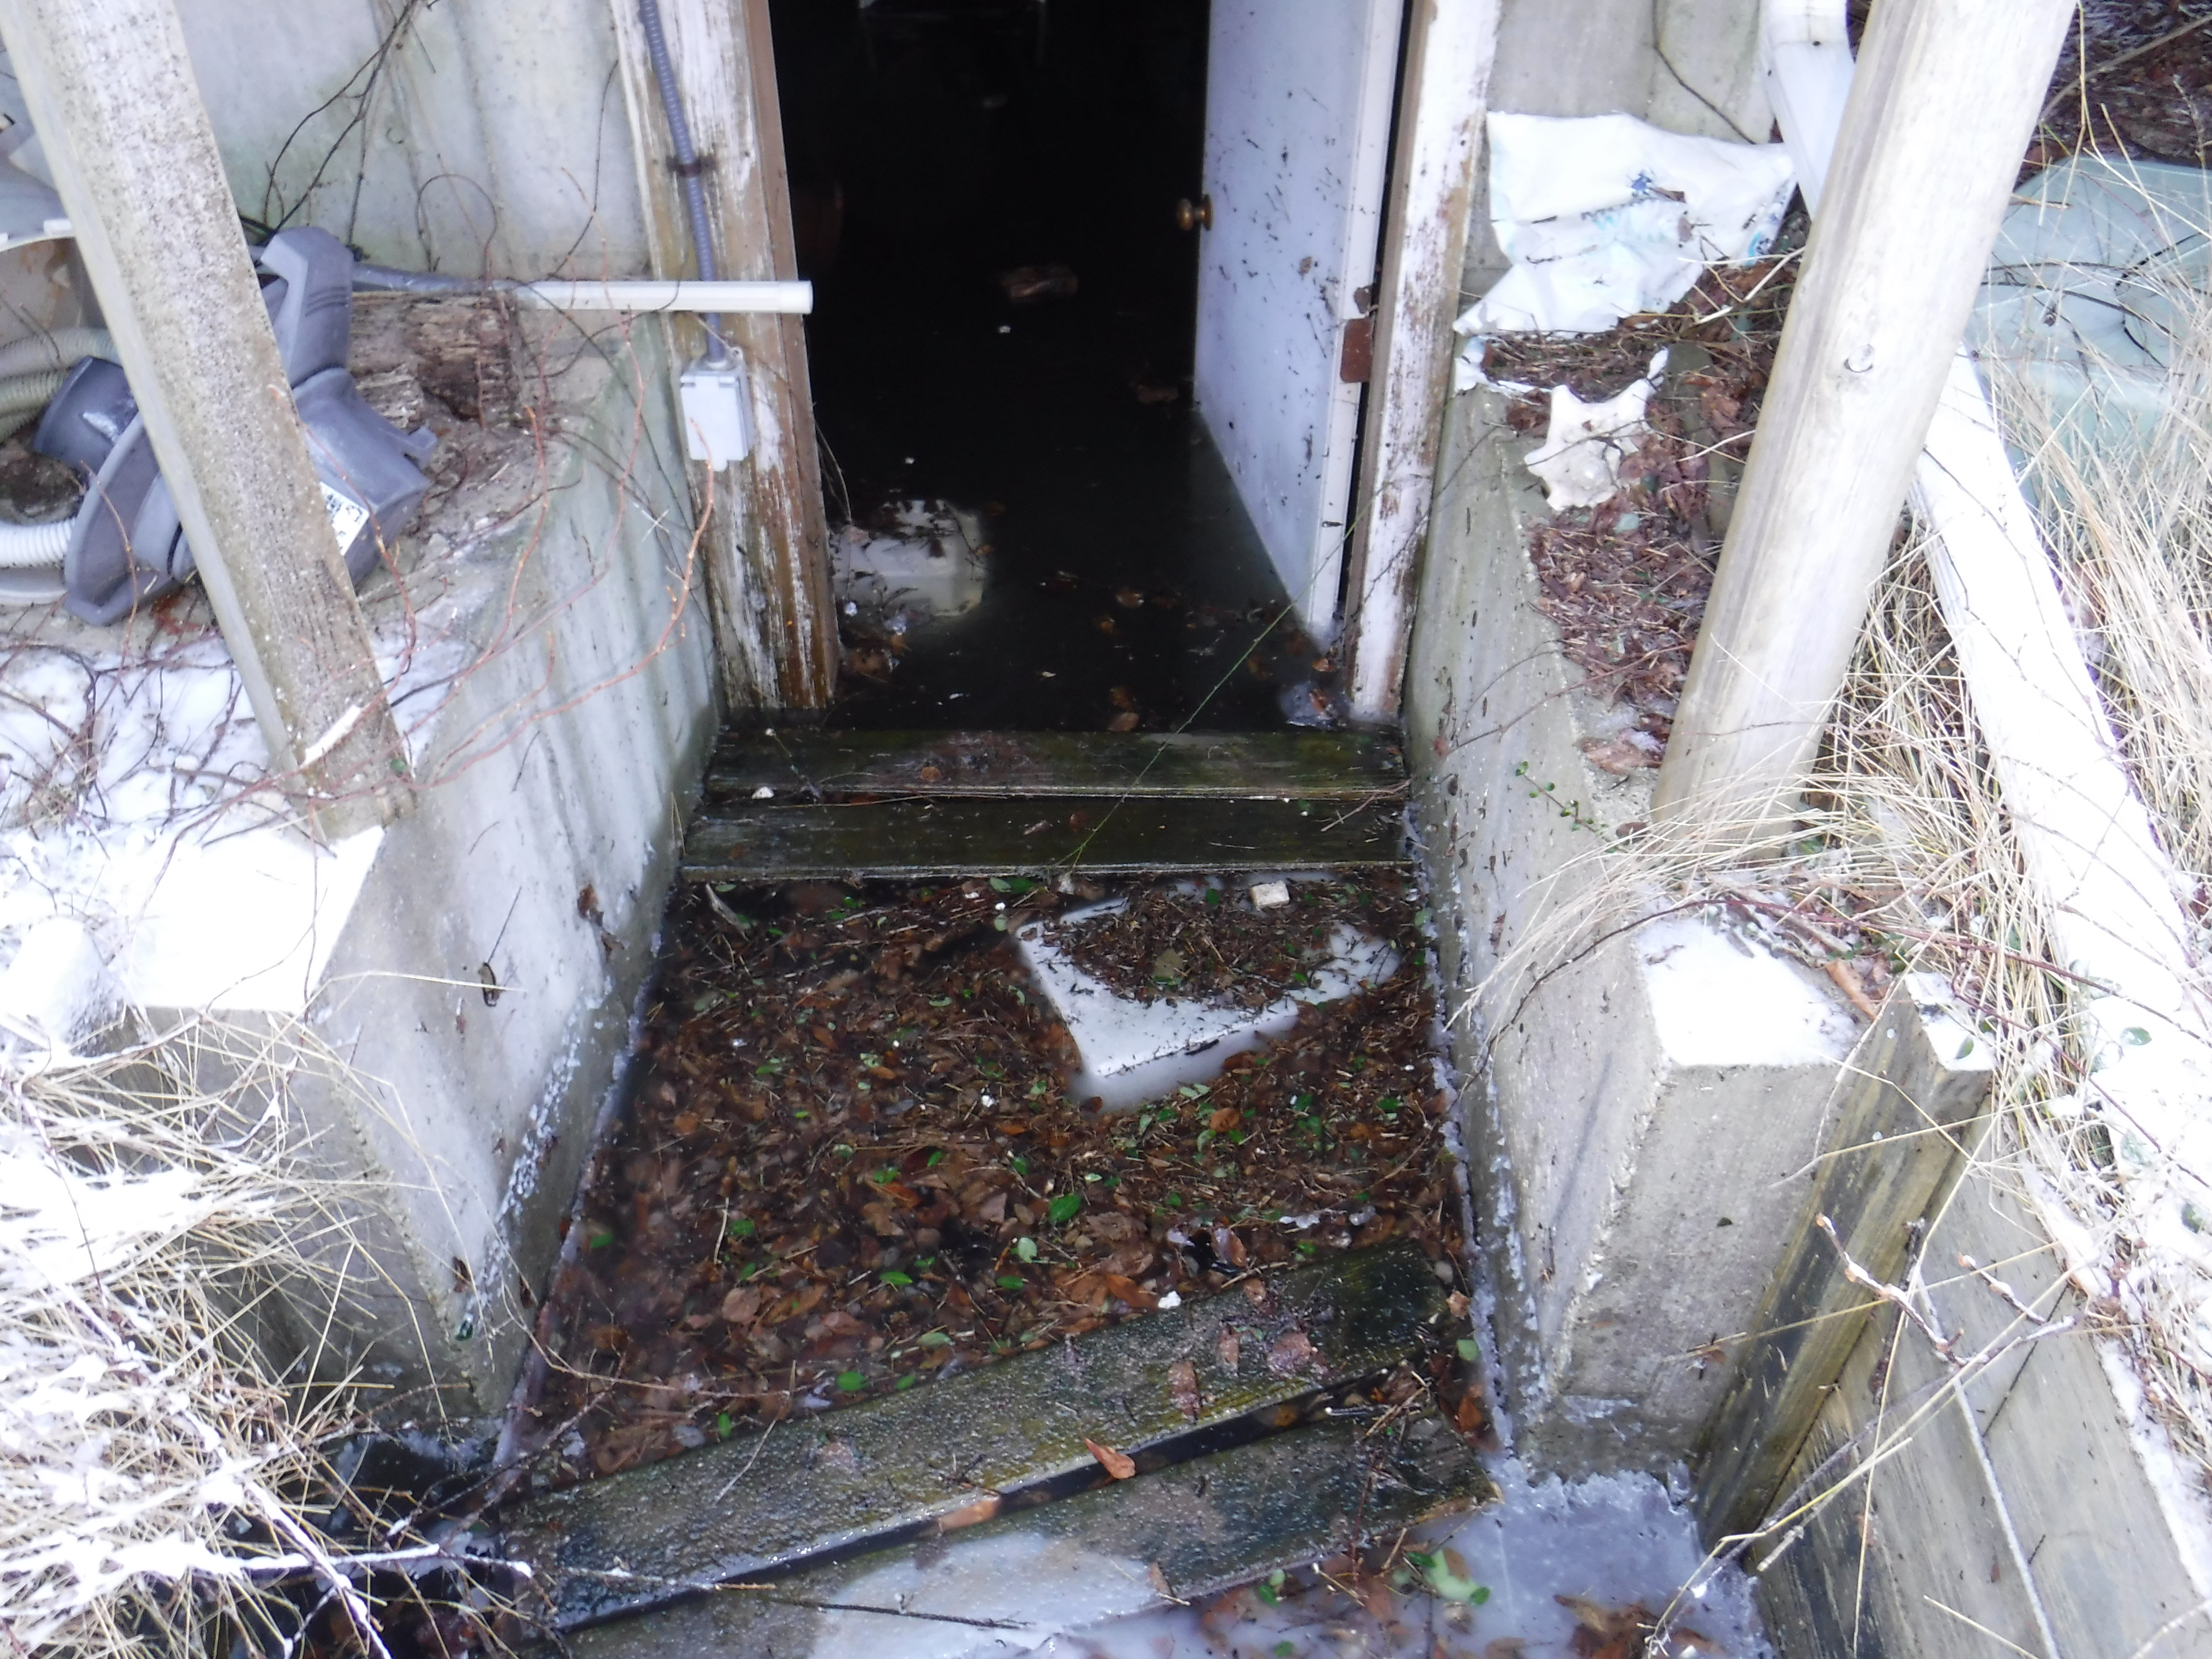
Provincetown’s high tide just after noon measured a whole 4’ higher than the previous tide, hitting a total height of over 10’ and turning Commercial Street into a river. Not only did the tides raise, the groundwater level rose so places like dirt crawlspaces flooded and all of the melting snow didn’t drain completely into the ground. Some areas reported surges that exceeded those of the historic Blizzard of ’78!

Eastham, MA Storm Surge Flooding

Not only were areas of the Cape being devastated with storm surge and groundwater damage, the warmer temperatures thawed homes with frozen pipes causing water damage in other areas. We can’t stress enough the importance of winterizing your home if you’re going to be away for an extended period of time. Even if it’s just a short while, make sure someone checks in on it, that your water is off and that your heat is on. Open your cabinets under sinks to allow for the warm air to flow to the plumbing. If you’re away often, purchase a water detector for damage prone areas like the basement to alert you as soon as water is detected, and Wi-Fi enabled thermostats so you can monitor the temperature in the house. These things help you act fast when disaster strikes so you can minimize the amount of damage you sustain.

Complicating matters even further were the power outages. Most heating systems rely on electricity to work so when the storm knocked out power to areas it also knocked out the heat. Later that night temperatures dropped to a deep freeze. It was a recipe for disaster. Pipes were even freezing in homes that were primary to the residents and the heat was on. It was really that cold, and the wind was that strong that it froze pipes in their exterior walls and ceilings.

Although there are a lot of areas where homeowners are required to purchase flood insurance because of their location on FEMA’s flood maps those policies don’t cover damaged contents. Think of all of the things that people keep in their basements; seasonal clothes, pantry items, extra furniture, etc. Finished basements could be entire bedrooms, offices and TV rooms. Flood insurance at least covers damage to burners and electrical equipment, but the cost to not only replace but dispose of all of the contents can be in the thousands.

“25% of homes with flood claims each year are in low risk zones.”

It has been a real eye opener. As restoration efforts continue and our crews remain available round-the-clock for emergency services we hope that everyone really takes a look at the measures they have in place for such disasters to protect themselves, their business and their homes from future events. It’s obvious the weather patterns continue to change, and the storms seem to be getting stronger, so please, stay safe out there and make sure you prepare for all of the possibilities.

Dealing with Ice Dams

It’s still winter and we have the snowy forecasts to prove it. Snow and fluctuating temperatures create the recipe for ice dam formation. What exactly is it that causes them? Well, if there is snow on your roof and you have a “heat leak” (a spot where there’s not enough insulation and the heat from the house is escaping), the heat will actually start to melt the snow around it. The water will run down the roof, but with the low temperatures it will then refreeze forming an ice dam. The more snow that melts, the more water that runs, the bigger the dam gets. Once the temperatures rise and all of the snow starts to melt, water will back up behind the dam and can leak into your home underneath your roof shingles. We still have plenty of winter left to add to this potential recipe for disaster, but you can avoid the costly damage that can become of this mix by monitoring two simple things. Ice dam formation and clear drainage paths.

Snow on Roof

You’ve probably heard about ice dams in the news, especially in winter of 2015, but like many other common property dangers you may not be aware of the actual danger they may pose to your home. Reconsider the “it won’t happen to me” idea and do the following to protect your investment.

  • Make sure your gutters and downspouts are clear of ice and debris. Regardless of the formation of ice dams or not, the snow is eventually going to melt and the water will have to be directed away from the house. If you’re already following our monthly maintenance to do lists, you’ve already made sure that the spouts are directing water at least 3′ away from your foundation.
  • Clear your roof of the snow and ice. You probably don’t even know that you have a heat leak in your roof until you see the ice dam form. You’ll have to address the insulation later, but first things first, remove the dam that has already formed. Although the safest option is to hire a snow removal professional, you can (carefully) remove it yourself by using a roof rake, not a shovel, to push the snow off without damaging your shingles. Don’t stand underneath where any icicles or dams may fall, avoid contact with your electrical wires, and make sure someone else is around just in case you need some help.
  • Melt a channel to direct the water. Another option for existing dams is to create drainage paths in the ice for when they start to melt. Fill a large sock with a melting agent such as calcium chloride and place it directly on the dam perpendicular to your gutter. The purpose of the sock is to control the release of the melting agent, and by laying the sock perpendicular to the gutter you’ll create a channel in the ice for the water to eventually drain through. If the dam runs the length of your roof, you’ll want to put several socks up there.

What if the ice dam and snow build up has already started a leak inside the house?

  • Mop up the standing water.
  • Put a bucket under the drip to collect any additional water.
  • Move your stuff away from the area to prevent it from also getting wet.
  • Call a professional to deal with the snow and ice dam.
  • Call a water mitigation professional to deal with the interior damage and drying. Even a small leak can make it’s way through several layers of your home, and everything will need to be completely dried to avoid mold growth.
  • Call your insurance agent or your insurance company to see if the damage will be covered under your policy. Find out what you’ll owe out of pocket for your deductible.

So, if you notice an ice dam forming on your roof, remove the snow and ice as soon as safely possible. If you can’t rake the dam off, create a channel for the water run trough it with a controlled melting agent. Take a picture and note where the dam formed, then address the insulation in that area to make sure it doesn’t form again.

Questions or concerns about any of these details and tips? Send us an e-mail! We’d love to hear from you!

Emergency Kit Checklist

Building an Emergency Kit

First Aid Kit

Winter Storm Kit – Emergency Preparation List – Power Outage Kit
With many names, serving many purposes, preparing a kit with at least these items will give you peace of mind that you are prepared to care for yourself and others during emergencies and severe weather. There are plenty of other items that could be added, but this will be more than a great start. Our favorite way to store them? In large coolers, duffel bags and large back packs.

  • Water – 1 gallon per person, per day and at least 3 days’ worth.
  • Food – non-perishable, nutritional, easy to prepare and at least 3 days’worth. (PB & J Sandwiches, Nutritional Bars, Nutritional Shakes, Nuts, Seeds, Trail Mix, Dried Fruit)
  • Flashlights & lanterns.
  • Battery-operated, hand-crank, and/or solar powered radio. An NOAA Weather Radio would be best.
  • Extra batteries for your flashlights, lanterns & radio.
  • First aid kit.
  • Medications – at least a 7 day supply.
  • Multi-purpose tool.
  • Hygiene & sanitation items. Body wipes and sanitizing wipes are always useful.
  • Cell phone & charger. Consider purchasing one portable, cordless, rechargeable charger per phone.
  • Copies of your personal documents. (Medications, Birth/death certificates, Deeds/leases, Insurance policies, Emergency contact list (Family & Friends).
  • Extra cash – ATM machines may go down.
  • Pet supplies – leash, food, bowl, blanket.
  • Gas – Fill your vehicle tank & have extra for your generator.
  • Non-clumping kitty litter, sand, and/or rock salt for walkways & traction.
  • Fuel for alternative heating methods –coal & wood for stoves & fireplaces.
  • Cooler(s) to put your refrigerated and frozen food in. If power is lost, keep it full of ice and stored in the refrigerator, then avoid opening the refrigerator door as much as possible

Inspire everyone to update their kits by sharing a picture with us on Facebook or Twitter!

Printable version: – Emergency Kit Checklist

Emergency Services – Preparation for the Unexpected

plan

In today’s world, we are advised to have all sorts of emergency plans in place in the event that one thing or another is to happen. We have emergency preparation kits so that we are prepared for the next hurricane, Nor’easter, or blizzard. We have emergency evacuation plans to exit our houses safely during a fire. Emergency first aid kits are in our cars, emergency back-ups on our computers, and maybe even an emergency phone list just in case you can’t get to the bus stop in time to meet the kids. Unfortunately, not many people have an emergency plan in place for the event that they come home to a washing machine that has suds to the living room, a hot water tank that gave out its last leg, or a furnace puff back coating soot on every square inch of everything!

When you are faced with the unexpected, having a plan in place serves wonders on retaining a clear mind, lowering stress levels, and keeping damage to a minimum. Imagine: You’ve just finished a long day at work, completed your grocery shopping, and finally you’ve open the door to start prepping dinner when you find your kitchen floor sitting beneath a layer of water generously leaked from your failed dish washer. Thankfully you’ve already programmed your agent in your phone and done your emergency restoration company research. Smart phones can even save your policy number information directly with the contact. Your agent gives you a list of local emergency service providers, and you call the one that appealed to you most based on their reviews, testimonials, and maybe a quick phone call prior to sample their office personnel. One more call to your emergency service provider and within 60 minutes or less, help is on the way!

Phew! Imagine all the things you would have been bombarded with if you hadn’t had that plan in place. At key’s turn, with arms full of grocery bags, you would have had to hunt down your agent’s information, policy information, decipher with unknown resources which company to choose to provide your emergency services, and all while your ice cream is leaking! It is so very important to initiate emergency services as soon as possible, otherwise the longer the wait, the more damage to mitigate, but you’ll want to be confident that you’ve chosen the best company for the job. As with any in-home service, it’s a personal matter to invite technicians into your house – no matter what they are providing. Just as you would research your insurance company, the bank you do business with, or even your primary care physician, look into your local restoration companies before you actually need them. Be like a scout; be prepared!

Newer posts »